

The Essential Guide to Fitting a Toilet Waste Pipe

Knowing how to fit a toilet waste pipe can save you time and money, and it’s something that many DIY enthusiasts can tackle with the right knowledge and tools. Proper installation is crucial to ensure smooth waste flow and to prevent any leaks, which can cause costly damage to your home. By doing it correctly yourself, you’ll not only gain a valuable skill but also avoid the expense of hiring a professional.
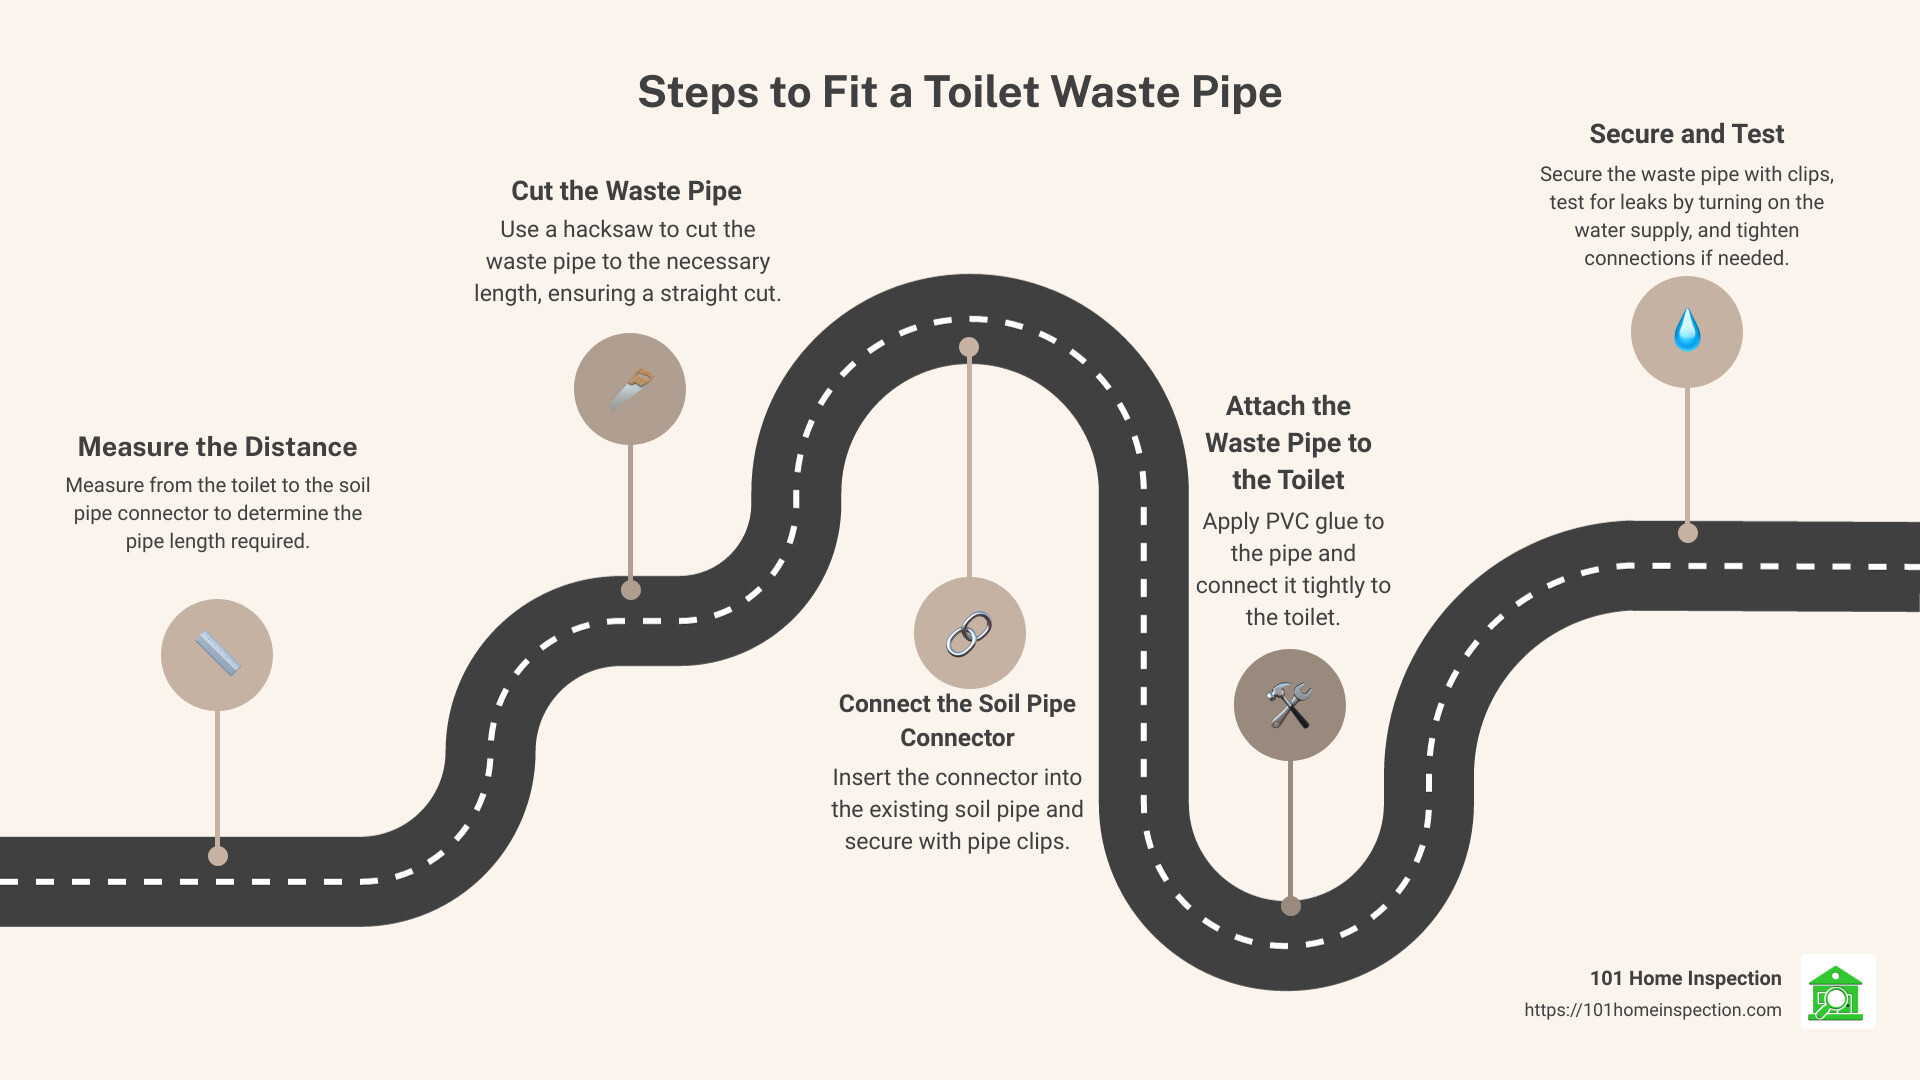
Here’s a quick overview of the key steps involved:
- Measure the distance from the toilet to the soil pipe connector.
- Cut the waste pipe using a hacksaw for a precise fit.
- Connect the soil pipe connector securely to the existing soil pipe.
- Attach the waste pipe to the toilet with PVC glue for a tight seal.
- Secure the waste pipe with clips and ensure it has a proper slope for drainage.
- Test for leaks by turning on the water supply and flushing the toilet. Tighten connections if necessary.
DIY feasibility is high for those familiar with basic plumbing tasks. However, following precise steps and safety measures is essential to avoid any mishaps. If at any point you feel uncertain, it’s always wise to consult a professional plumber.
Tools and Materials Needed
Before you start installing your toilet waste pipe, gather all the necessary tools and materials. Having everything on hand will make the process smoother and more efficient.
Essential Tools
- Hacksaw: For cutting the waste pipe to the correct length. Ensure you have a sharp blade for clean cuts.
- Measuring Tape: Accurate measurements are crucial. You’ll need this to measure the distance from the toilet to the soil pipe connector.
- Adjustable Wrench: Useful for tightening connections and fittings. Make sure it’s adjustable to fit different sizes of nuts and bolts.
- Safety Glasses: Protect your eyes from debris when cutting pipes or drilling holes.
- Screwdrivers: Both flathead and Phillips screwdrivers will be needed for various screws and fittings.
- Drill/Driver and Bits: For drilling holes in walls or floors to secure the waste pipe. Ensure you have the right bits for the material you’re drilling into.
- Water Pump Pliers: Handy for gripping and turning pipes, especially when they’re wet or slippery.
- Carpenter’s Awl: Useful for marking positions and starting holes for screws.
- Spirit Level: To ensure your toilet and waste pipe are level. This is crucial for proper drainage.
- Cartridge Gun: For applying silicone sealant. Make sure it’s compatible with your sealant tubes.
Materials
- PVC Glue: Essential for creating a watertight seal when connecting PVC pipes. Apply generously to ensure a strong bond.
- Pipe Clips: These will secure the waste pipe to the wall or floor, preventing movement and vibrations.
- Wall Plugs: Used in conjunction with screws to secure the pipe clips to the wall. Choose the right size for your wall material.
- Silicone Sealant: To seal any gaps between the waste pipe and the floor or wall, providing a watertight finish.
- Screws: For securing the pipe clips and other fittings. Ensure you have the right type and size for your specific needs.
- Pencil: For marking measurements and positions. A simple but essential tool for accuracy.
Summary Table
| Tool/Material | Purpose |
|---|---|
| Hacksaw | Cutting waste pipe |
| Measuring Tape | Measuring distances |
| Adjustable Wrench | Tightening connections |
| Safety Glasses | Eye protection |
| Screwdrivers | Various screws and fittings |
| Drill/Driver | Drilling holes |
| Water Pump Pliers | Gripping and turning pipes |
| Carpenter’s Awl | Marking positions and starting holes |
| Spirit Level | Ensuring level installation |
| Cartridge Gun | Applying silicone sealant |
| PVC Glue | Sealing PVC pipe connections |
| Pipe Clips | Securing waste pipe |
| Wall Plugs | Anchoring screws in walls |
| Silicone Sealant | Sealing gaps |
| Screws | Securing pipe clips and fittings |
| Pencil | Marking measurements and positions |
Having these tools and materials ready will set you up for a successful DIY installation. Next, we’ll dive into the step-by-step process of how to fit a toilet waste pipe.
Step-by-Step Guide on How to Fit a Toilet Waste Pipe
Measure the Distance
First, measure the distance from the toilet’s waste outlet to the soil pipe connector. This determines the length of the waste pipe you’ll need. Use a measuring tape for accuracy.
Cut the Waste Pipe
Using a hacksaw, cut the waste pipe to the required length. Ensure the cut is straight for a secure connection.
Tip: File the cut end to create a shallow chamfer. This helps the pipe slide easily into the joint.
Connect the Soil Pipe Connector
Insert the soil pipe connector into the existing soil pipe. Make sure it’s firmly in place and secure it with pipe clips.
Pro Tip: Use a pipe joint lubricant to ease the connection process. Avoid using household lubricants like Fairy Liquid as they can make everything slippery.
Connect the Waste Pipe to the Toilet
Apply PVC glue to both the inside of the waste pipe and the outside of the toilet’s waste outlet. Slide the waste pipe onto the outlet and hold it in place for a few seconds to ensure a tight bond.
Important: Ensure a snug fit to prevent leaks.
Secure the Waste Pipe
Secure the waste pipe to the wall using pipe clips. Place the clips at regular intervals, allowing for expansion and contraction due to temperature changes.
Guideline: For vertical runs, place clips every two meters. For horizontal runs, every meter is ideal.
Test for Leaks
Turn on the water supply and flush the toilet. Check for any leaks around the waste pipe and soil pipe connector. If you notice any leaks, tighten the connections with an adjustable wrench or apply more PVC glue to the joint.
Finish Up
Once you’re sure there are no leaks, seal any gaps between the waste pipe and the floor or wall with silicone sealant. This ensures a clean and secure finish.
Final Check: Ensure the waste pipe drains properly into the soil pipe connector.
By following these steps, you’ll have a securely installed toilet waste pipe. Now, let’s discuss some additional tips and considerations to ensure your installation is top-notch.
Additional Tips and Considerations
When it comes to how to fit a toilet waste pipe properly, there are a few extra tips and considerations that can make a big difference. Let’s dive into those.
Choosing the Right Pipe
Selecting the right type of pipe is crucial for a successful installation. Most DIY enthusiasts prefer PVC pipes due to their affordability and durability. PVC is lightweight, easy to cut, and resistant to corrosion, making it an excellent choice for waste pipes.
However, you might also consider copper or steel options. Copper pipes are known for their longevity and resistance to bacteria but can be more expensive and harder to work with. Steel pipes offer high strength but are less common for residential plumbing due to their weight and potential for rust.
Ensuring Proper Slope
One of the most critical aspects of installing a toilet waste pipe is ensuring it has the correct slope. A slight downward slope, typically around a 1:80 gradient, is essential for smooth waste flow. This means for every 80 units of horizontal distance, the pipe should drop by 1 unit.
Pro Tip: Use a spirit level to check the slope as you install the pipe. Incorrect slope can lead to blockages and poor drainage.
Securing the Pipe
Properly securing your waste pipe is vital to prevent movement or vibration, which can cause leaks or disconnections over time. Use pipe clips to fasten the pipe to the wall at regular intervals.
- Vertical runs: Secure every two meters.
- Horizontal runs: Secure every meter.
Make sure each clip is snug but not overly tight to allow for slight expansions and contractions due to temperature changes.
Insulating External Pipes
If your waste pipe runs along an external wall, insulating it’s a good idea. This helps prevent the pipe from freezing in cold weather, which can cause cracks and leaks.
Steps to insulate:
- Wrap the pipe in foam insulation.
- Secure the insulation with tape or zip ties.
- Ensure there are no gaps in the insulation.
By following these additional tips, you’ll ensure your toilet waste pipe installation is not only efficient but also built to last.
For more detailed insights and professional support on your home projects, check out our Electrical Services in Cardiff.

These extra steps might seem minor, but they can make a significant difference in the long-term performance of your plumbing system. Happy DIY-ing!
Frequently Asked Questions about How to Fit a Toilet Waste Pipe
How do you connect toilet waste to soil pipe?
Measure flange, Cut pipe, Add slip coupling, Push-fit connection
Does a toilet waste pipe have to be straight?
Avoid 90-degree bends, Use 45-degree bends, Straight pipe sections
How to seal toilet waste pipe?
Rubber or silicone repair tape, Epoxy putty, Pipe repair clamps
Conclusion
Summary, DIY feasibility, 101 Home Inspection services in Cardiff, South Wales, UK